How to use a Custom Permission in a Salesforce Validation Rule
To use a Custom Permission in a Salesforce Validation Rule, you can follow these steps:
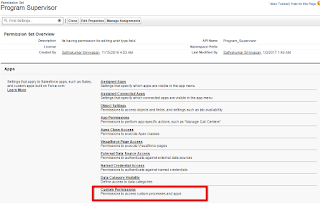
Create a custom permission: First, you need to create a custom permission. To do this, go to Setup > Permission Sets > Custom Permissions and click on the New Custom Permission button. Give your custom permission a name, label, and description.
Assign the custom permission to the user or profile: Once you have created the custom permission, you need to assign it to the user or profile you want to use it for. To do this, go to Setup > Permission Sets and select the custom permission you just created. Then click on the Manage Assignments button and assign the permission to the relevant users or profiles.
Create a validation rule: Now that you have created the custom permission and assigned it to the relevant users or profiles, you can use it in a validation rule. To create a validation rule, go to Setup > Object Manager and select the object you want to create the validation rule for. Then click on Validation Rules and create a new rule.
Use the custom permission in the validation rule: In the validation rule, you can use the custom permission in a formula to check whether the user or profile has the permission. For example, you can use the following formula:
NOT($Permission.Custom_Permission_Name)
This formula will check whether the user or profile has the custom permission, and if not, the validation rule will be triggered.
Activate the validation rule: Once you have created the validation rule, make sure to activate it by clicking on the Activate button.
That's it! You have now created a validation rule that uses a custom permission to enforce business logic in Salesforce.


Comments
Post a Comment